Recipe: Nuts
about nutty tray bake
Source: Delicious.
Source: Delicious.
We’ve just celebrated another family occasion which called
for me to get my bake on! This time, it was my Mum’s birthday, and she asked if
I could make something that contained two of her favourite ingredients: dark
chocolate and nuts.
There were lots of different tarts I could have made as a
proper dessert but, since we were already having a BBQ and there’d be birthday
cake, I decided to do something simpler and less rich as I anticipated people
being too full to actually eat the fruits of my labour! As a result, I went for
this Nuts about nutty tray bake from the Delicious. magazine website.

I followed the recipe exactly and used the same combination
of nuts. To make up my 300g, I used 75g of each type – this didn’t make the
recipe particularly cheap to make but at least I felt confident that the mix of
flavours would work well together. Not all of the nuts were whole (I had walnut
pieces and macadamia halves) but this wasn’t an issue. I was more bothered by
the blisters I got on my thumbs from spending ages shelling pistachios! When it
came to toasting the nuts, I did each type separately in order to keep a better
eye on them, and found that this worked well. The macadamias, for example, were
ready very quickly, although the pan was already very hot by this point.
I’d realised well in advance that I didn’t have a baking tin
that would be deep enough for the recipe but, instead of buying a new one
specially, I decided to improvise with an ovenproof dish and just allow for longer
cooking times.

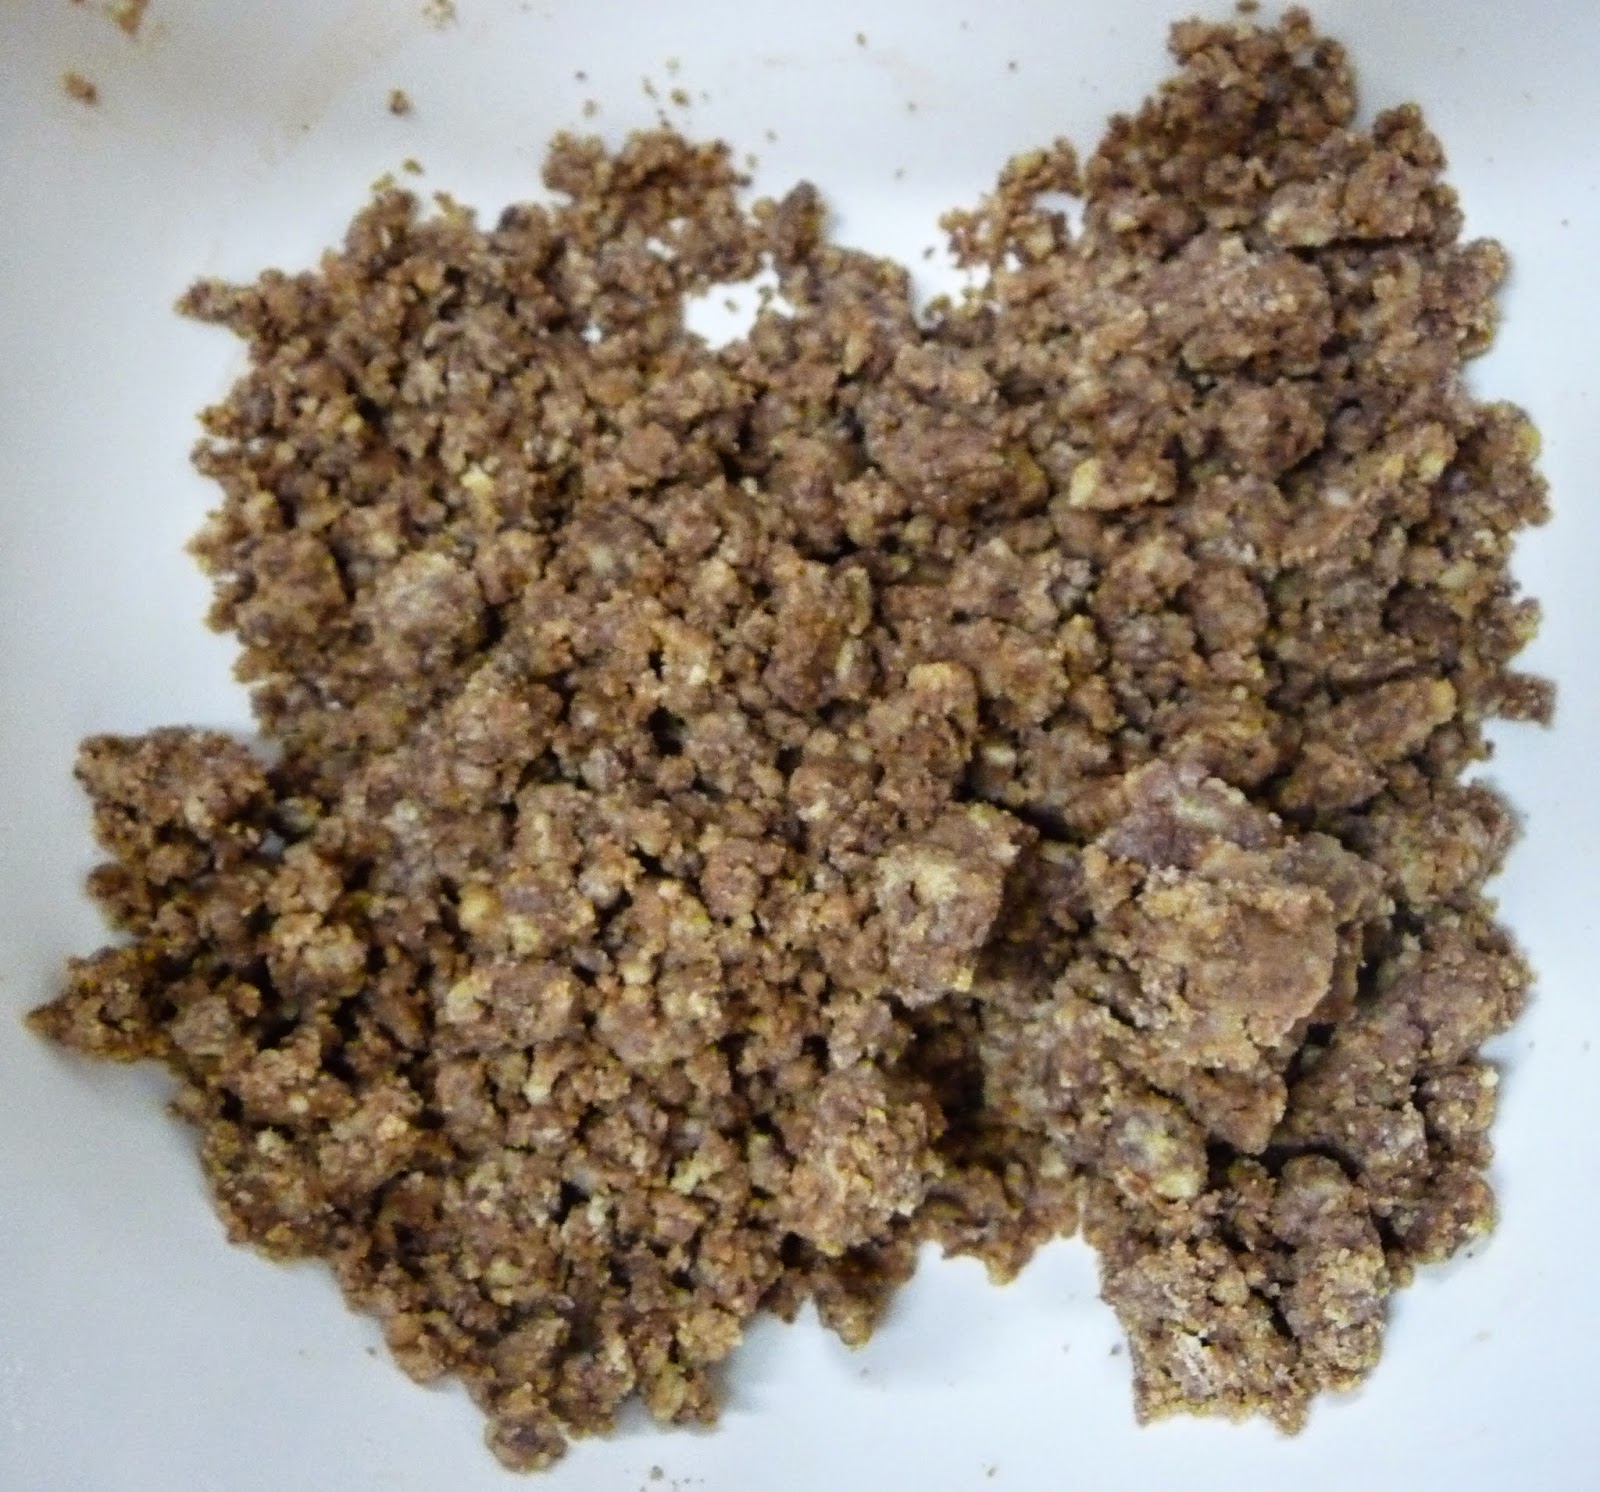
When it came to making the base, I stupidly hadn’t twigged
that I was effectively making a chocolate shortbread, so I wasn’t really sure
what I was aiming for in terms of appearance or consistency. I’d spread the
mixture in the dish with the back of a metal spoon, to make it nice and smooth,
but I was a bit unclear after that point! Having been in the oven for 20
minutes, it felt quite soft and a little grainy and, although I assumed it
would harden, I sensed that it wasn’t yet done. In the end, I baked the base
for 26 minutes and, thankfully, it did firm up before I added the nutty
topping.

My other concern with the base was that I wasn’t sure if I’d
actually mixed it enough as it didn’t seem to look as chocolatey as the picture
on the website.
However, I couldn’t do much more with it, and I was pleased that it turned out
ok in the end.

When it came to the topping, I had a sneaky taste of the
syrupy mixture and found it tasted like a rich, almost salted, caramel. After
mixing the nuts in, and topping the biscuit base, I gave the dish another
additional six minutes in the oven, baking it for 16 minutes in total.

The smell that came off this Nuts about nutty tray bake was
amazing – it was nutty, caramelly and buttery and reminded me of pecan pie
which is a favourite of mine. Looking at it, though, I couldn’t see how it
would ever serve 24. I managed to make 12–16 slices out of it easily but, when
I tried to cut it smaller, bits ended up falling off so I decided not to risk
going any further (even though I did get to eat the broken bits!).

I also found it was important to wait until the bake was
completely cool before cutting it. I initially tried it when it was still slightly
warm but this did cause a bit of breakage – I had no problems at all once it
was cold. Having said that, if you weren’t bothered about appearance and wanted
to try this with ice cream, it did taste delicious warm. It had a deep, sugary
flavour and the nuts tasted nice too. Most importantly for me, my Mum loved it!

I knew from the quantities in the ingredients that this
wouldn’t be a particularly chocolatey recipe, and that turned out to be the
case. However, that did mean that it wasn’t too rich either. Several years ago
I had a delicious bag of sugar-toasted cashew nuts from a food market and, to
my delight, I found that the overall flavours on offer here were like that on a
grander scale. The combination of nuts tasted great together and the buttery flavour
was also evident. It was the caramelisation I particularly loved, though, with
the experience reminding me of a particularly strong popcorn flavouring – I could
quite happily munch on the topping alone in a cinema!

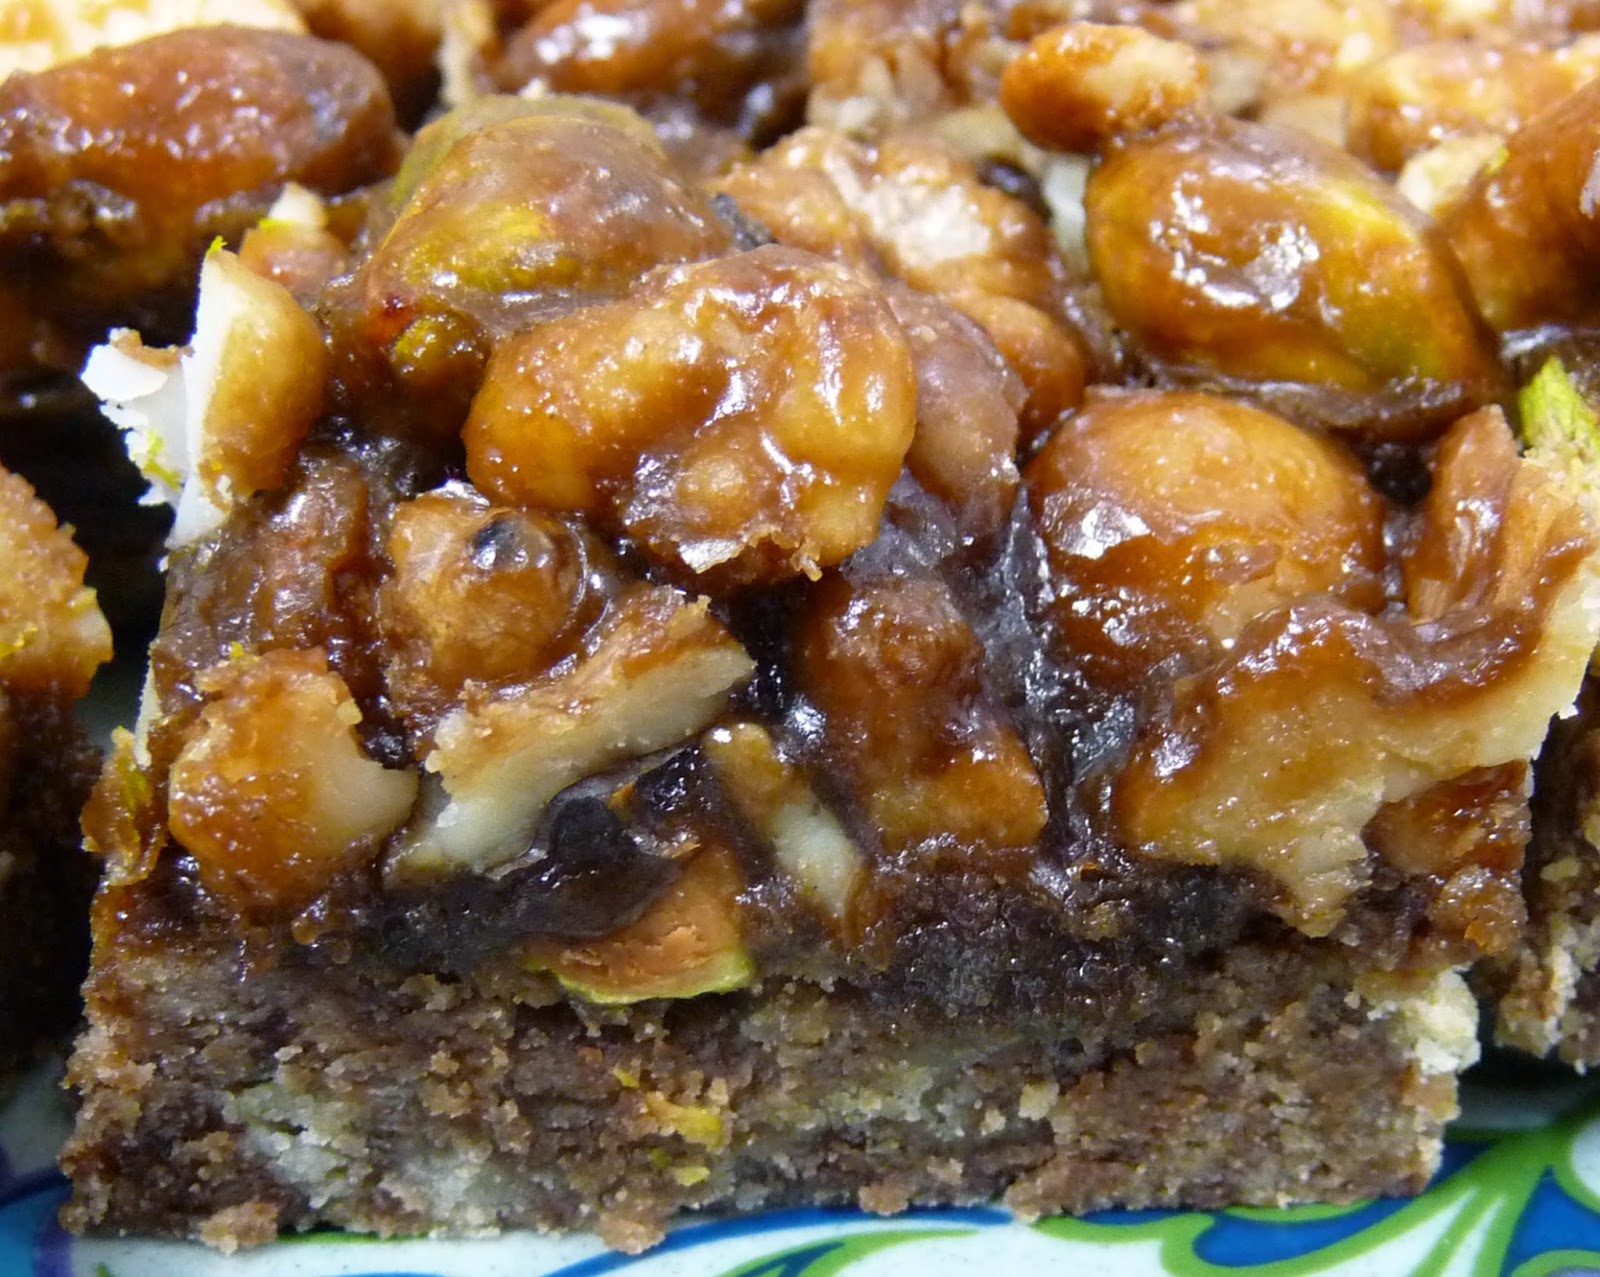
I was also really pleased with the texture. I hadn’t quite
known what to expect so I was glad to find that the topping wasn’t chewy or
like brittle. Instead, the caramel was soft, whilst the nuts were hard and
crunchy and the base was crumbly – the only downside being that this
combination was a bit messy to eat as the nuts shifted as you took a bite. The shortbread
almost melted in the mouth and, when combined with the caramel and chocolate
flavours, it reminded me a bit of millionaire’s shortbread. And if that
comparison wasn’t enough, I also sensed similarities with another favourite in
our family: fudge tart (although I very much doubt you good people are blessed
enough to ever have experienced the wonders of that bake!).
As I suspected, not everyone had enough room to try this
tasty treat as they were all too full from the birthday cake my sister had made
(the Chocolate salted caramel marble cake,
as it happens!). However, those who did really liked it, and I was very pleased
with the delicious results from what was an incredibly simple recipe. You
obviously do need to be a fan of nuts to like this but, if that’s you, you can’t
go far wrong.

Ease of recipe: 10/10
Finished product: 9.5/10
Overall score: 9.75/10
Bake again? Yes
Finished product: 9.5/10
Overall score: 9.75/10
Bake again? Yes


